Embark on a creative journey! These instructions simplify weaving, offering beginners a pathway to textile art using various loom types and techniques․
Discover the joy of interlacing warp and weft, crafting beautiful fabrics with accessible, easy-to-follow guidance for all skill levels․
What is a Weaving Loom?
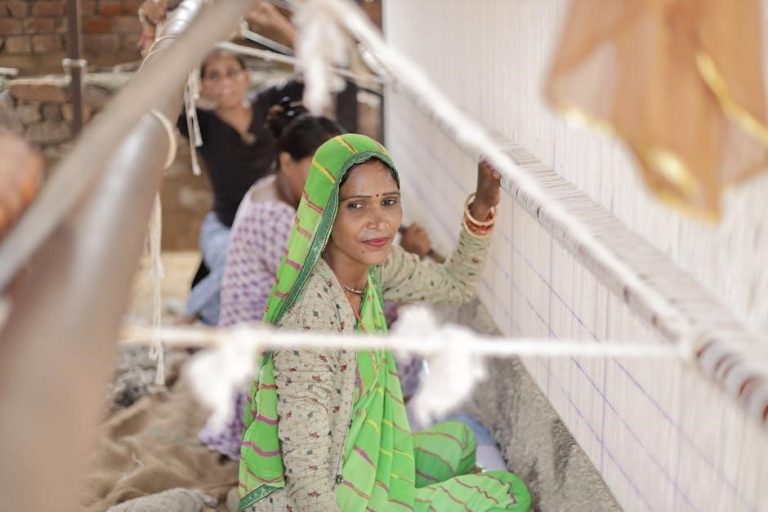
A weaving loom is a device used to create fabric by interlacing two sets of yarns – the warp and the weft․ Historically, looms ranged from simple hand-operated frames to complex, mechanized structures․
Essentially, a loom holds the warp threads taut, allowing the weft threads to be passed over and under them․ This process, repeated consistently, builds the woven cloth․ Modern looms come in diverse forms, including frame looms, table looms, and rigid heddle looms, each suited for different projects and skill levels․
They are the fundamental tool for transforming yarn into textiles․
Benefits of Learning to Weave
Weaving offers a multitude of benefits, extending beyond simply creating beautiful textiles․ It’s a deeply meditative and mindful practice, fostering relaxation and reducing stress through repetitive motions․
Learning to weave cultivates patience, problem-solving skills, and an appreciation for the artistry of textile creation․ It’s a fantastic outlet for creative expression, allowing for experimentation with colors, textures, and patterns․
Plus, it’s a sustainable craft, utilizing materials and reducing waste!
Types of Weaving Looms for Beginners
Explore diverse loom options! Frame, table, and rigid heddle looms offer varying complexities, catering to beginners and allowing progression in weaving skills․
Frame Looms
Ideal for newcomers, frame looms are the simplest and most affordable option to begin your weaving adventure․ Constructed with a rectangular frame holding warp threads under tension, they require minimal setup․
These looms are exceptionally portable, making them perfect for crafting on the go․ Beginners can easily learn basic weaving techniques like plain weave and tapestry on a frame loom․ They are fantastic for small projects like wall hangings, coasters, and learning fundamental concepts before advancing to more complex loom types․
Table Looms
A step up in complexity, table looms offer increased control and efficiency for weaving projects․ These looms feature a stationary frame resting on a table, with mechanisms for raising and lowering warp threads․
This allows for more intricate patterns and denser fabrics compared to frame looms․ While requiring a slightly steeper learning curve, table looms are still beginner-friendly and suitable for creating scarves, small rugs, and more substantial woven pieces․ They provide a stable and versatile weaving experience․
Rigid Heddle Looms
Bridging the gap between simple frame looms and more complex table looms, rigid heddle looms are incredibly versatile and popular with beginners․ They utilize a single heddle – a frame with slots or holes – to separate warp threads, simplifying the weaving process․
This allows for efficient plain weave and simple pattern variations․ Rigid heddle looms are portable, relatively affordable, and excellent for creating scarves, shawls, and smaller fabric widths, making them a fantastic entry point into weaving․
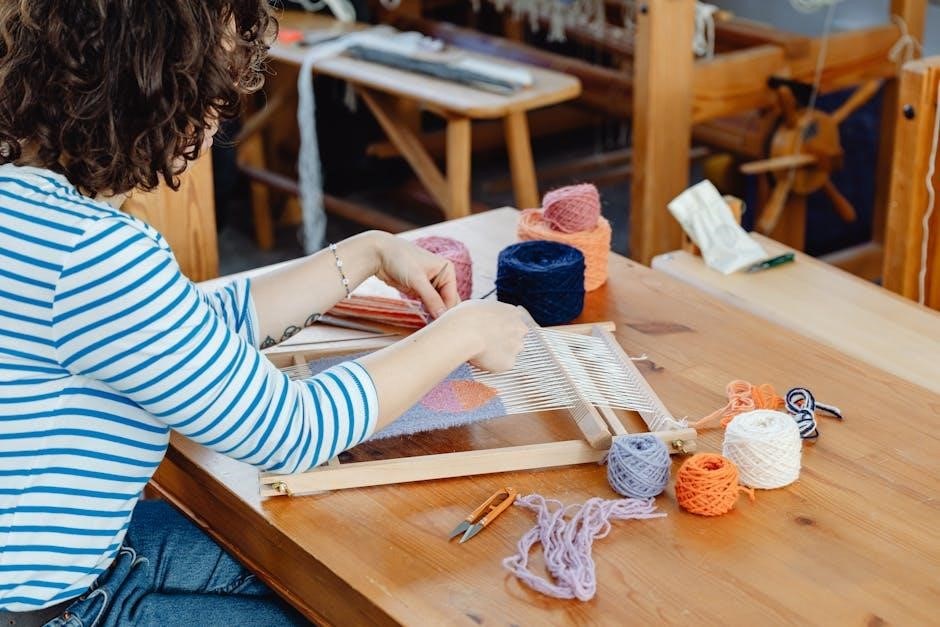
Essential Materials for Loom Weaving
Gather your supplies! Successful weaving requires warp yarn, weft yarn, a loom, and tools like shuttles, combs, and scissors for a fulfilling experience․
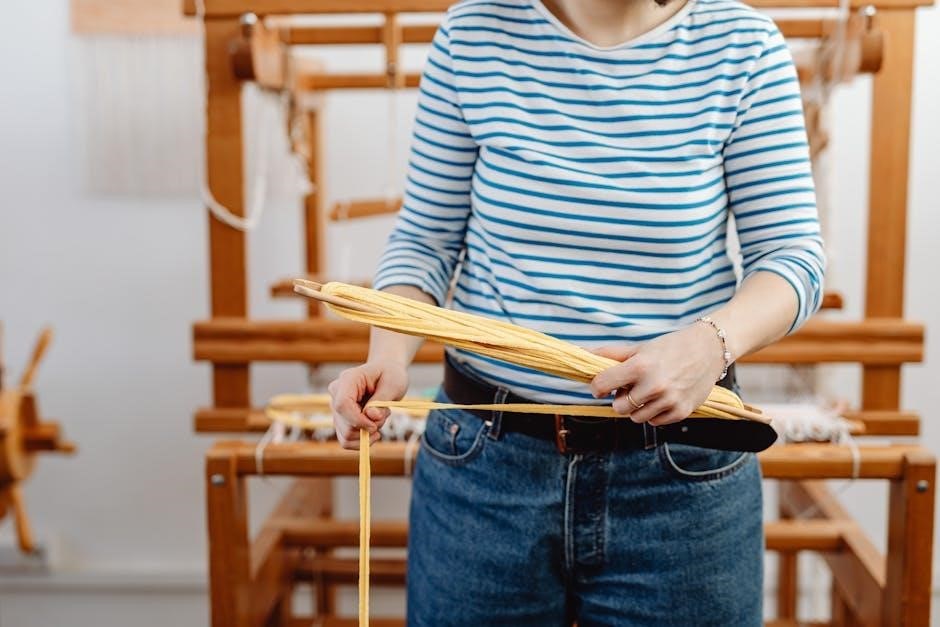
Warp Yarn
Warp yarn forms the foundation of your weave․ Typically stronger and smoother than weft, it withstands tension during the weaving process․ Cotton, linen, and silk are popular choices for beginners due to their manageability․
Consider yarn weight; a medium weight is often easiest to work with initially․ The amount needed depends on your project size, but it’s better to overestimate than run short! Ensure consistent tension when warping for a stable and even weave․
Experiment with different materials as you gain experience to discover unique textures and effects․
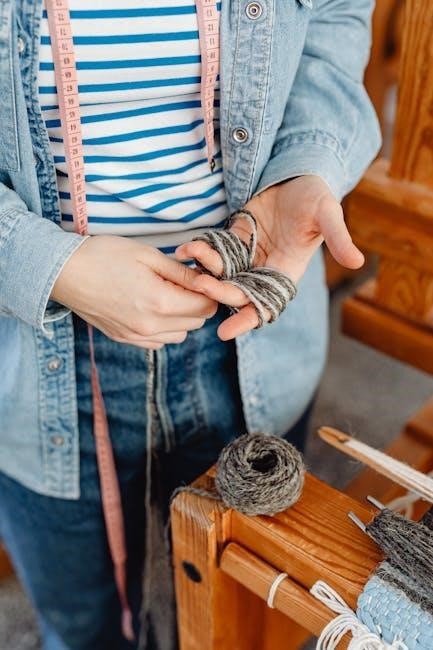
Weft Yarn
Weft yarn is the element woven over and under the warp, creating the design and body of your fabric․ Unlike warp, weft can be more varied in texture and weight, offering creative freedom․
Wool, acrylic, and even repurposed fabrics are excellent choices․ Experiment with different colors, thicknesses, and materials to achieve desired effects․ Consider how the weft interacts with the warp – a bulky weft can create texture, while a finer weft offers detail․
Don’t be afraid to mix and match!
Other Tools: Shuttles, Combs, and Scissors
Beyond yarn and a loom, several tools enhance the weaving process; Shuttles efficiently carry the weft yarn through the warp, streamlining the weaving action․ A weaving comb (or beater) gently packs the weft threads together, creating a dense and even fabric․
Sharp scissors are crucial for cleanly cutting yarn ends․ Additional helpful items include measuring tapes, yarn needles for weaving in ends, and potentially pick-up sticks for intricate patterns․
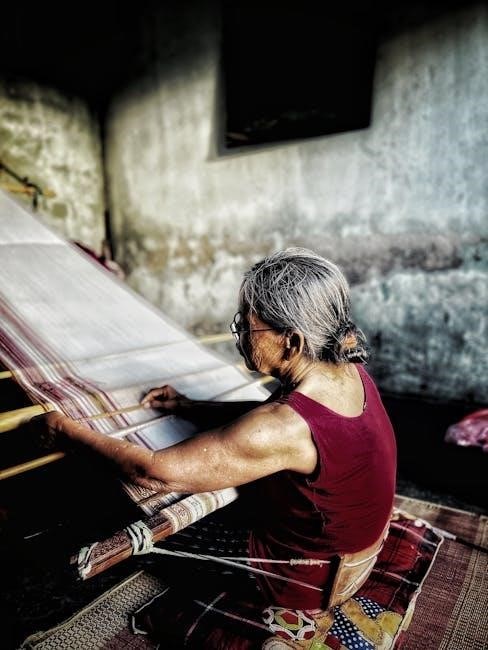
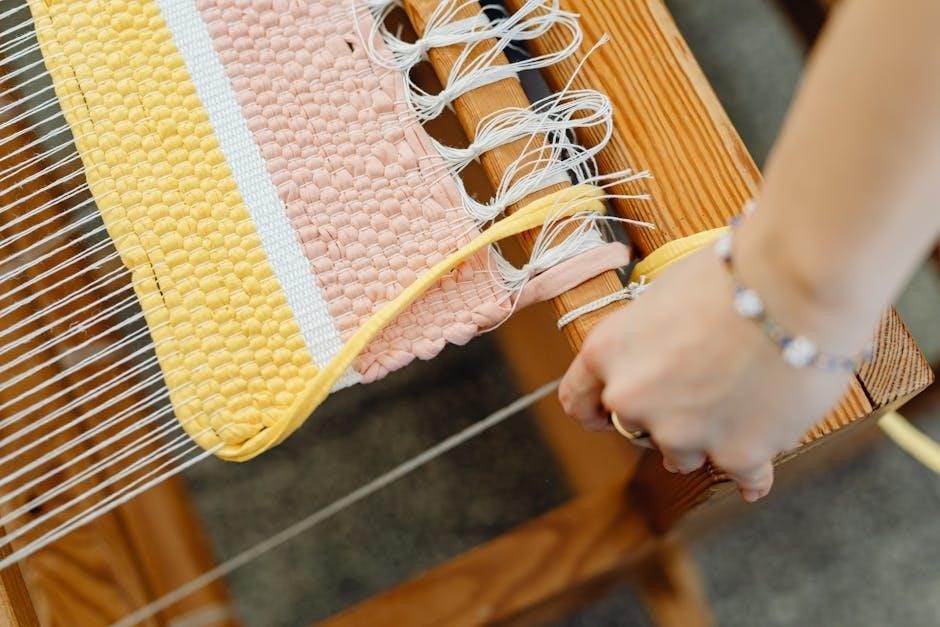
Setting Up Your Loom: Warping
Warping establishes the foundation! This crucial step involves stretching warp yarn lengthwise on the loom, creating the structure for interlacing the weft threads․
Proper warping ensures even tension and a successful weaving project, differing slightly based on loom type․
Understanding Warp and Weft
The core of weaving lies in understanding warp and weft․ The warp yarns run lengthwise on the loom, forming the foundation of the fabric; they are typically stronger as they endure tension․
Conversely, the weft yarns are woven across the warp, interlacing to create the cloth․ Think of the warp as the ‘skeleton’ and the weft as the ‘flesh’ of your woven piece․
Mastering this distinction is fundamental; manipulating both warp and weft allows for diverse textures, patterns, and designs, unlocking the full potential of loom weaving․
Warping a Frame Loom
Warping a frame loom is the initial, crucial step․ Begin by securing one end of your warp yarn to the frame, then wrap it around the loom’s pegs or notches, maintaining consistent tension․
Continue wrapping, creating parallel lines – the warp – ensuring even spacing․ A warping board can aid in precise yarn length calculation․
Secure the final end, and double-check for even tension; this foundation dictates the final weave’s quality․ Consistent tension prevents distortion and ensures a beautiful result․
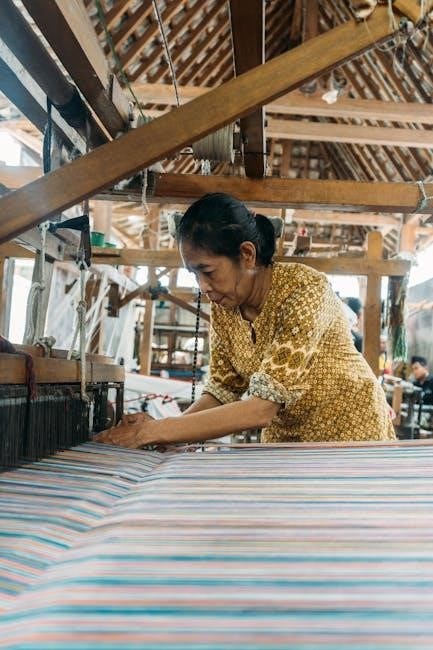
Warping a Table Loom
Warping a table loom involves beaming the warp, a process of winding the warp yarn onto the back beam․ This requires careful measurement and winding to achieve even tension across the loom’s width․
Thread each warp end through a heddle eye, determining the weave structure․ Maintaining consistent tension during beaming is vital for a smooth weaving process․
Secure the warp to the cloth beam, and verify alignment before beginning to weave․ Proper warping prevents breakage and ensures a high-quality finished piece․
Basic Weaving Techniques
Master fundamental skills! Learn plain weave, tapestry weave, and Rya knots to create diverse textures and patterns on your loom with ease․
These techniques form the foundation for more complex projects, unlocking endless creative possibilities in your weaving journey․
Plain Weave
The cornerstone of weaving! Plain weave is the simplest technique, created by passing the weft yarn over and under each warp thread, alternating with each row․
This creates a strong, balanced fabric, ideal for beginners․ It’s a foundational skill for understanding interlacing yarns and building more complex structures․
Maintain consistent tension for even results․ Practice creating straight edges and neat rows to refine your technique․ Experiment with different yarn weights and colors to explore variations within this basic weave․
Tapestry Weave
Unlock pictorial possibilities! Tapestry weave involves using different colored weft yarns to create designs and images within the woven structure․
Unlike plain weave, the weft yarns are not continuous; instead, they travel back and forth, covering specific areas to form shapes and patterns․
Carefully manage yarn ends to avoid bulkiness․ Utilize techniques like dovetailing or burying ends for a clean finish․ This method allows for artistic expression and detailed designs on your loom․
Rya Knots
Add texture and warmth! Rya knots create a long-pile surface, resulting in a plush and decorative effect on your woven piece․
These knots are formed by looping the weft yarn around two warp threads, creating a dense, shaggy texture․ Varying knot density and yarn colors allows for diverse designs․
Rya knots are traditionally used in Scandinavian textiles, adding a unique and cozy element to rugs, wall hangings, and cushions․ Experiment with different yarn weights for varied effects!
Weaving Patterns for Beginners
Unleash your creativity! Start with simple designs like stripes, geometric shapes, and color blocking to build confidence and explore weaving possibilities․
Stripes
Stripes are the quintessential beginner pattern! They’re incredibly easy to execute on any loom, requiring only alternating colors of weft yarn․ Begin by weaving with one color for a desired width, then switch to another, repeating this process to create classic stripes․
Experiment with varying stripe widths – thin, thick, or even graduated – for visual interest․ Don’t be afraid to play with color combinations; contrasting hues create bold statements, while analogous colors offer a more subtle effect․ Stripes provide a fantastic foundation for understanding basic weaving principles and color theory․
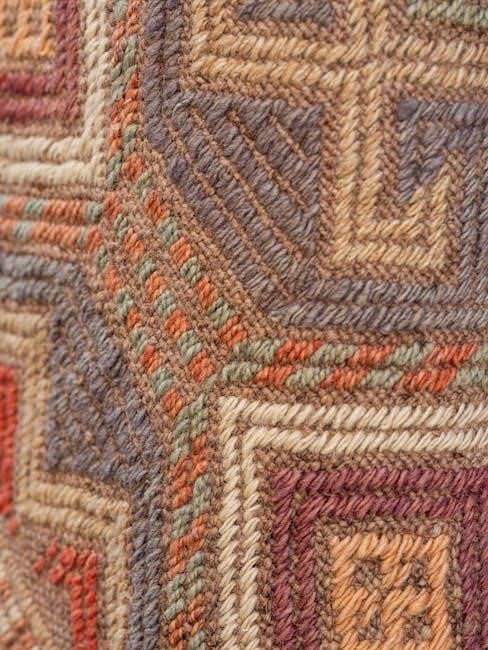
Simple Geometric Designs
Expand beyond stripes with basic geometric shapes! Squares, triangles, and diamonds are achievable with careful color changes and weaving techniques․ Plan your design on paper first, marking where colors will shift within the warp threads․
Utilize the tapestry weave technique to create clean lines and defined shapes․ This involves carrying yarns along the back of the weaving, bringing them forward only when needed․ Practice creating small geometric motifs before attempting larger, more complex designs․
Color Blocking
Create bold statements with color blocking! This technique involves using large sections of solid color, juxtaposing hues for a modern and graphic effect․ It’s a fantastic way to showcase yarn textures and create visual impact with minimal complexity․
Plan your color scheme beforehand, considering complementary or contrasting colors․ Change colors every few rows, or create larger blocks for a more dramatic look․ Secure the ends of each color on the back of the weaving to maintain clean lines and prevent unraveling․
Finishing Your Woven Project
Secure your artistry! Finishing techniques like securing weft ends, creating fringe, and carefully removing the work from the loom finalize your woven masterpiece․
Securing the Weft
Prevent unraveling with careful finishing! Once weaving is complete, securing the weft threads is crucial․ Gently weave the tail ends back into the woven structure, following the existing pattern for a neat finish․
Use a tapestry needle to carefully tuck the weft ends, ensuring they are hidden and won’t pull loose․ Alternatively, a small knot can be tied, then concealed within the weaving․ Consistent tension during this process maintains the integrity and appearance of your finished piece, preventing future fraying․
Creating Fringe
Add a decorative touch! To create fringe, extend the warp yarns beyond the woven area before beginning․ Once weaving is finished, carefully cut these extended warp yarns to your desired fringe length․
For a uniform look, use a comb or ruler as a guide․ You can separate the fringe strands, knot them in small groups, or leave them loose for a bohemian style․ Experiment with different lengths and knotting techniques to personalize your woven creation!
Removing from the Loom
Carefully release your work! Gently separate the woven piece from the warp threads․ Start by loosening the tension and lifting the fabric off the loom․
Avoid pulling forcefully, as this could distort the weave․ Once removed, you can carefully tie off the warp threads near the woven edge to prevent unraveling․ Trim excess warp yarn, leaving a small amount for securing the edges if desired․ Your woven masterpiece is now ready for finishing!

Advanced Weaving Techniques
Elevate your skills! Explore Soumak weave, pick-up sticks, and double weave for intricate designs and textures, expanding your weaving artistry․
Soumak Weave
Soumak, a brilliant technique, creates a textured, braided appearance on your woven piece․ It involves wrapping the weft yarn around the warp threads, rather than passing it over and under․
This wrapping creates a robust fabric, often used for rugs and wall hangings․ It’s a fantastic way to add depth and visual interest․ Begin by securing your weft yarn and wrapping it around adjacent warp threads, creating a diagonal line․ Continue this process, shifting the wrapping direction with each row to build the Soumak pattern․
Pick-up Sticks
Pick-up sticks are essential tools for creating intricate patterns in your weaving․ These rigid sticks, often made of wood or cardboard, lift specific warp threads, allowing you to introduce new colors or textures․
To use them, slide a pick-up stick under the desired warp threads, lifting them to create a shed․ Then, pass your weft yarn through this shed․ This technique enables complex designs like geometric shapes or pictorial motifs, expanding your creative possibilities beyond basic weaves․
Double Weave
Double weave is an advanced technique creating two independent layers of fabric simultaneously․ This involves interlacing two warps and two wefts, resulting in a thicker, often reversible textile․
It requires careful planning and precise execution, but unlocks unique textures and structural possibilities․ You essentially weave two fabrics ‘within’ each other, allowing for complex designs and even pockets or tubes within the woven piece․ Mastering double weave expands your weaving skillset significantly․
Resources for Further Learning
Expand your skills! Explore online tutorials, weaving books, and local guilds for deeper knowledge and community support on your weaving journey;
Online Tutorials and Courses
Dive deeper into weaving with readily available online resources! Numerous platforms offer comprehensive tutorials, ranging from beginner-friendly introductions to advanced techniques․ Shuttles and Needles, a textile design academy, provides accessible learning experiences․
Explore YouTube for visual demonstrations of warping, weaving patterns, and finishing methods․ Websites dedicated to fiber arts often host detailed guides and courses․ Consider platforms like Skillshare or Creativebug for structured learning paths, allowing you to progress at your own pace and unlock your creative potential․
Books on Weaving
Expand your knowledge with the wealth of information found in weaving books! These resources offer in-depth explorations of techniques, patterns, and the history of this ancient craft․ Look for titles covering basic weaving skills, such as warping and plain weave, to build a strong foundation․
Explore books detailing specific loom types, like frame or rigid heddle looms, for focused instruction․ Many publications showcase inspiring projects and provide detailed diagrams, aiding visual learners in mastering the art of weaving and textile creation․
Local Weaving Guilds and Workshops
Connect with a vibrant community of weavers! Local guilds and workshops provide invaluable hands-on learning experiences and mentorship opportunities․ These groups often host beginner classes, covering essential techniques like warping, weaving, and finishing projects․
Workshops offer focused instruction on specific skills or projects, allowing you to deepen your understanding and explore new creative avenues․ Guilds foster a supportive environment for sharing knowledge, inspiration, and resources with fellow weaving enthusiasts․
Troubleshooting Common Weaving Problems
Don’t be discouraged by challenges! Address issues like broken threads, uneven tension, or curved edges with simple fixes and adjustments․
Consistent practice and careful observation will help you overcome obstacles and refine your weaving skills․
Broken Warp Threads
Dealing with snapped warp threads is inevitable, even for experienced weavers! Don’t panic․ Carefully tie the broken end to its neighbor using a reef knot, ensuring it’s secure but doesn’t distort the tension․
Alternatively, you can weave in the broken end with a tapestry needle, creating a small, neat repair․ For frequent breaks, consider using stronger warp yarn or adjusting your weaving tension․ Remember to gently ease the tension on surrounding warp threads to prevent further breakage during repair․
Uneven Tension
Maintaining consistent warp tension is crucial for a neat weave․ If you notice loose or overly tight areas, gently adjust the tension using your fingers or a tensioning tool․
Regularly check the tension throughout your project, especially after adding new warp threads․ Consistent beating of the weft also helps even out the tension․ A weaving comb can be invaluable for this! Practice makes perfect – achieving even tension improves with experience․
Curved Edges
Curved edges often indicate inconsistent tension or uneven beating of the weft․ To correct this, gently pull the warp threads on the tighter side to straighten the edge․
Ensure you’re beating the weft evenly across the entire width of the loom with each pass․ Consistent pressure is key! Periodically step back and visually assess the edges during weaving to catch and correct any curves early on․
History of Weaving
Weaving boasts ancient roots! From early hand looms to complex mechanisms, it’s a tradition spanning cultures, utilizing materials like wool, linen, and cotton․
Ancient Weaving Traditions
Historically, weaving is deeply interwoven with human civilization․ Evidence suggests its origins trace back tens of thousands of years, with early examples found across the globe․ Ancient cultures, including those in Egypt, China, and the Americas, developed sophisticated weaving techniques․
These traditions utilized natural fibers – wool, flax, cotton – and rudimentary looms to create essential textiles for clothing, shelter, and ritualistic purposes․ Abkhazian weavers, for instance, crafted carpets, rugs, and fabrics for daily life, demonstrating remarkable skill and artistry passed down through generations․ These early practices laid the foundation for the weaving techniques we explore today․
Evolution of Loom Technology
The journey of the loom is a testament to human ingenuity․ From simple frame looms used in ancient times, technology progressed to more complex structures like tappet and dobby looms, enabling intricate patterns․ These advancements revolutionized textile production, increasing efficiency and design possibilities․
Today, we even see wifi-operated looms alongside portable options, catering to both beginners and professionals․ This evolution demonstrates a continuous pursuit of innovation, making weaving more accessible and versatile, while still honoring the fundamental principles established centuries ago․
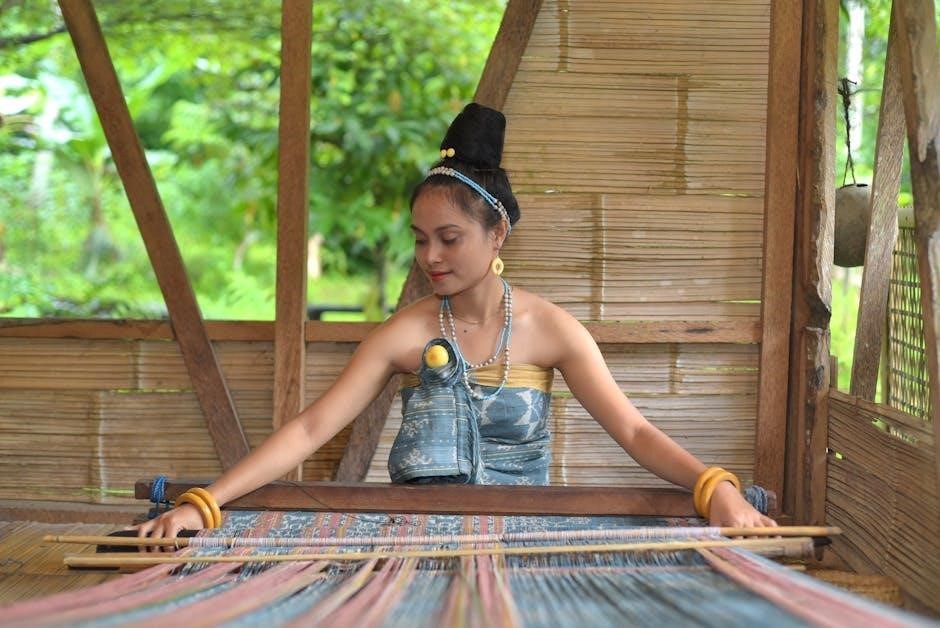
Weaving in Different Cultures
Weaving is a globally practiced art form, deeply embedded in diverse cultural traditions․ From Abkhazian wall carpets and rugs to intricate textiles across various regions, weaving reflects unique aesthetics and techniques․ Historically, materials like wool, linen, hemp, and cotton were central to these practices․
Each culture developed distinct weaving styles, showcasing their heritage and storytelling abilities․ This rich tapestry of traditions demonstrates weaving’s universal appeal and its enduring significance as a form of artistic expression and cultural preservation․